How to Build a Corset: A Step-by-Step Guide
Introduction
Creating your own corset can be an immensely rewarding experience, blending historical craftsmanship with personal creativity. At Corset Home, we understand the allure of a perfectly fitted red corset. Whether you’re a seasoned seamstress or a beginner with a passion for fashion, this guide will walk you through the process of building a stunning red corset that highlights your skills and style.
Understanding Corset Anatomy
Before you start, it’s crucial to understand the basic anatomy of a corset. A typical corset includes panels, a busk at the front, grommets or eyelets for lacing at the back, and steel bones to provide structure and shape. The fabric choice is also essential; for a red corset, you might consider luxurious satin, sturdy coutil, or elegant brocade to make a statement.
Materials and Tools You’ll Need
To build a red corset, gather the following materials and tools:
- Fabric (satin, coutil, or brocade)
- Lining fabric
- Steel boning (spiral and flat)
- Busk
- Grommets or eyelets
- Lacing
- Bias tape
- Sewing machine
- Hand sewing needles
- Thread
- Fabric scissors
- Measuring tape
- Tailor’s chalk
- Awl or grommet setter
Step-by-Step Guide to Building Your Corset
- Taking Measurements:
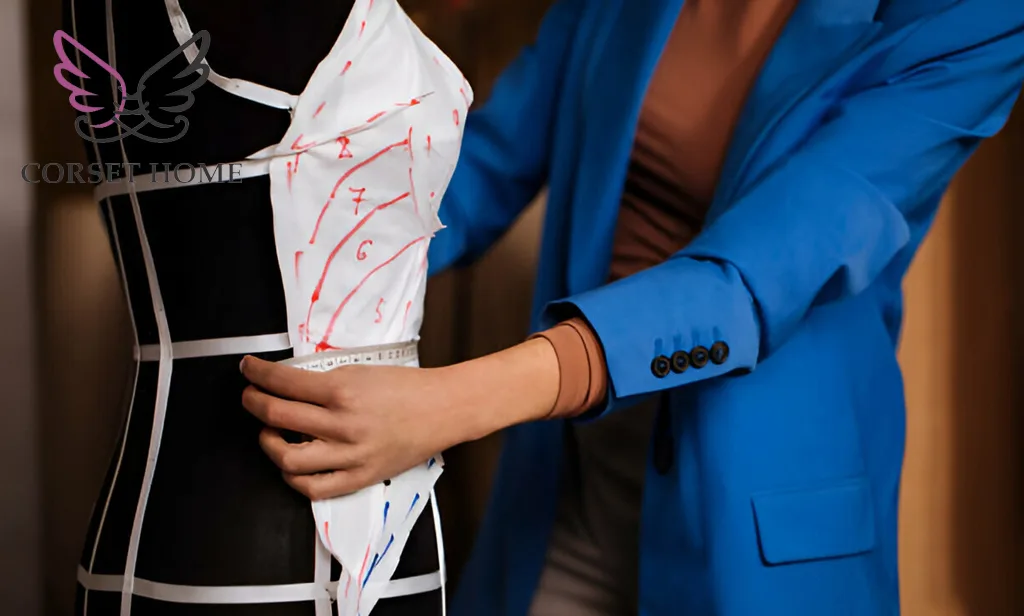
Accurate measurements are vital for a well-fitted corset. Measure your bust, waist, and hips, and note the distance between these points. Ensure you measure while wearing the undergarments you plan to wear with the corset. - Creating the Pattern:
You can purchase a corset pattern or draft your own. For beginners, a purchased pattern can simplify the process. Follow the pattern instructions carefully, transferring your measurements to ensure a customized fit. Remember to add seam allowances. - Cutting the Fabric:
Lay your red fabric on a flat surface and pin the pattern pieces to it. Cut out the fabric pieces, ensuring you have all necessary layers, including the lining. Precision is key to avoid any fitting issues later. - Assembling the Panels:
Sew the fabric panels together according to your pattern instructions. Use a sturdy stitch to ensure durability. Once the panels are assembled, press the seams open. If your fabric is delicate, consider using a pressing cloth. - Inserting the Busk:
The busk is the front closure of the corset. Mark the placement and carefully sew the busk into the front panels. Ensure it aligns perfectly to avoid any asymmetry. - Adding Boning Channels:
Create channels for the steel boning by sewing bias tape onto the seams. This can be done on the inside of the corset or between the lining and outer fabric. Ensure the channels are secure to prevent the bones from shifting. - Inserting the Boning:
Cut the steel boning to the appropriate lengths, using wire cutters for spiral bones and a hacksaw for flat bones. File down any sharp edges to prevent them from tearing the fabric. Insert the bones into the channels, ensuring they fit snugly. - Adding Grommets or Eyelets:
Mark the placement of the grommets or eyelets along the back panels, ensuring they are evenly spaced. Use an awl or grommet setter to install them, creating the lacing holes. - Finishing Touches:
Attach the lining to the corset, sewing it to the outer fabric. Finish the edges with bias tape for a clean look. Finally, add the lacing and adjust it to achieve the desired fit.
FAQs About Building a Corset
Q: How long does it take to build a corset?
A: The time required varies based on your skill level and the complexity of the design. Generally, it can take anywhere from a few days to a couple of weeks.
Q: Can I use plastic boning instead of steel?
A: While plastic boning is an option, steel boning provides superior support and durability, especially for tight lacing and extended wear.
Q: What fabric is best for a red corset?
A: Sturdy fabrics like coutil or denim are excellent for structural integrity, while satin or brocade can be used for the outer layer to achieve a luxurious look.
Q: How do I ensure a perfect fit?
A: Accurate measurements and a well-fitted pattern are crucial. It’s also beneficial to create a mock-up (toile) from inexpensive fabric to test the fit before cutting into your final fabric.
Q: How do I clean my corset?
A: Spot cleaning with a damp cloth is usually sufficient. If deeper cleaning is needed, hand wash gently with mild detergent and air dry. Avoid machine washing and drying to prevent damage.
Conclusion
Building a corset, especially a striking red corset, is a blend of art and skill. By following this guide, you can create a garment that not only fits beautifully but also showcases your craftsmanship. At Corset Home, we encourage you to embrace the process and enjoy the journey of creating a piece that is uniquely yours. Happy sewing!

